(Last Update: 09/10/2025)
Have you ever wondered how a simple DIY project can transform your bedroom into a stylish retreat?
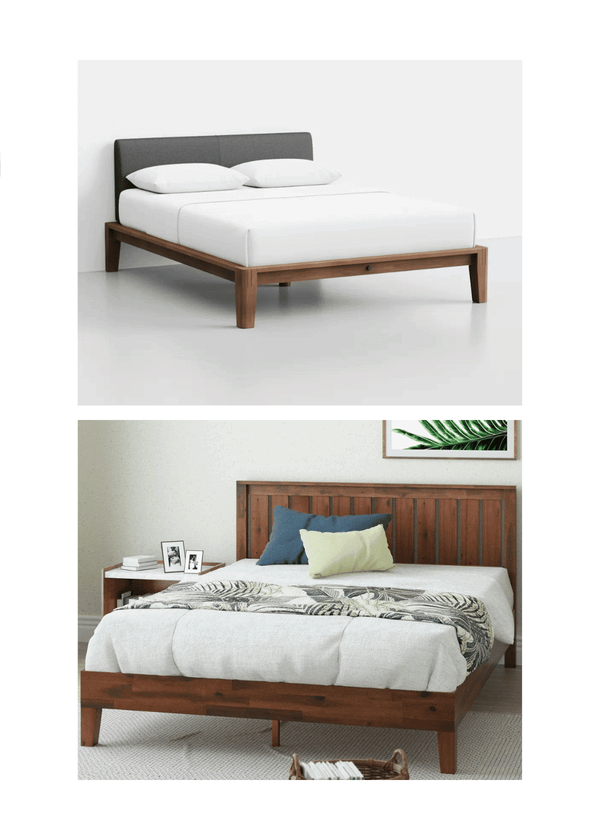
Building your bed frame saves money and allows you to customize your space exactly to your taste.
In this guide, I’ll share five easy DIY bed frame plans anyone can follow.
Whether you’re a seasoned DIYer or a beginner, these projects will help you create a stunning bed frame suitable to your needs and style.
Getting Started with Your DIY Bed Frame Project

Creating your bed frame is a rewarding project that can transform your bedroom while showcasing your style. Whether building a simple modern bed frame or a more complex design, this guide will help you navigate the process.
I’ll guide you through the bed frame project, from selecting the right plan to adding those final touches that make it uniquely yours. Let’s dive in!
What to Consider When Choosing a Bed Plan?
When starting a bed frame project, several key factors must be considered.
Consider the size of your mattress and the space in your bedroom. Regardless if your bed is a twin, twin XL, full, queen, king-size mattress, twin bed, double bed, or king bed, choosing the right plan ensures the bed frame will fit perfectly in your space. For beds with a box spring, selecting a frame that accommodates both the mattress and box spring is equally important to maintain comfort and support.
When planning, think about how the bed frame will complement your room's layout. A twin bed or twin XL bed is ideal for smaller spaces or children's bedrooms, while a double bed or full-size mattress works well in guest rooms or medium-sized bedrooms. King-size beds and frames are perfect for larger spaces, offering luxury and ample sleeping room.
Taking accurate measurements of your room and mattress ensures that your chosen frame enhances functionality and aesthetics. With options ranging from compact twin beds to expansive king beds and configurations including box springs, selecting the right frame design creates a harmonious and comfortable sleeping environment.
Think about the style and design you want to achieve. Are you looking for a modern bed frame, a rustic reclaimed wood design, or something more traditional? Your choice will influence the materials and tools you need.
Choose a plan that fits your skill level and budget. If you’re a beginner, start with a simple design that requires fewer tools and materials. More advanced DIYers might opt for a project with detailed woodworking and custom features.
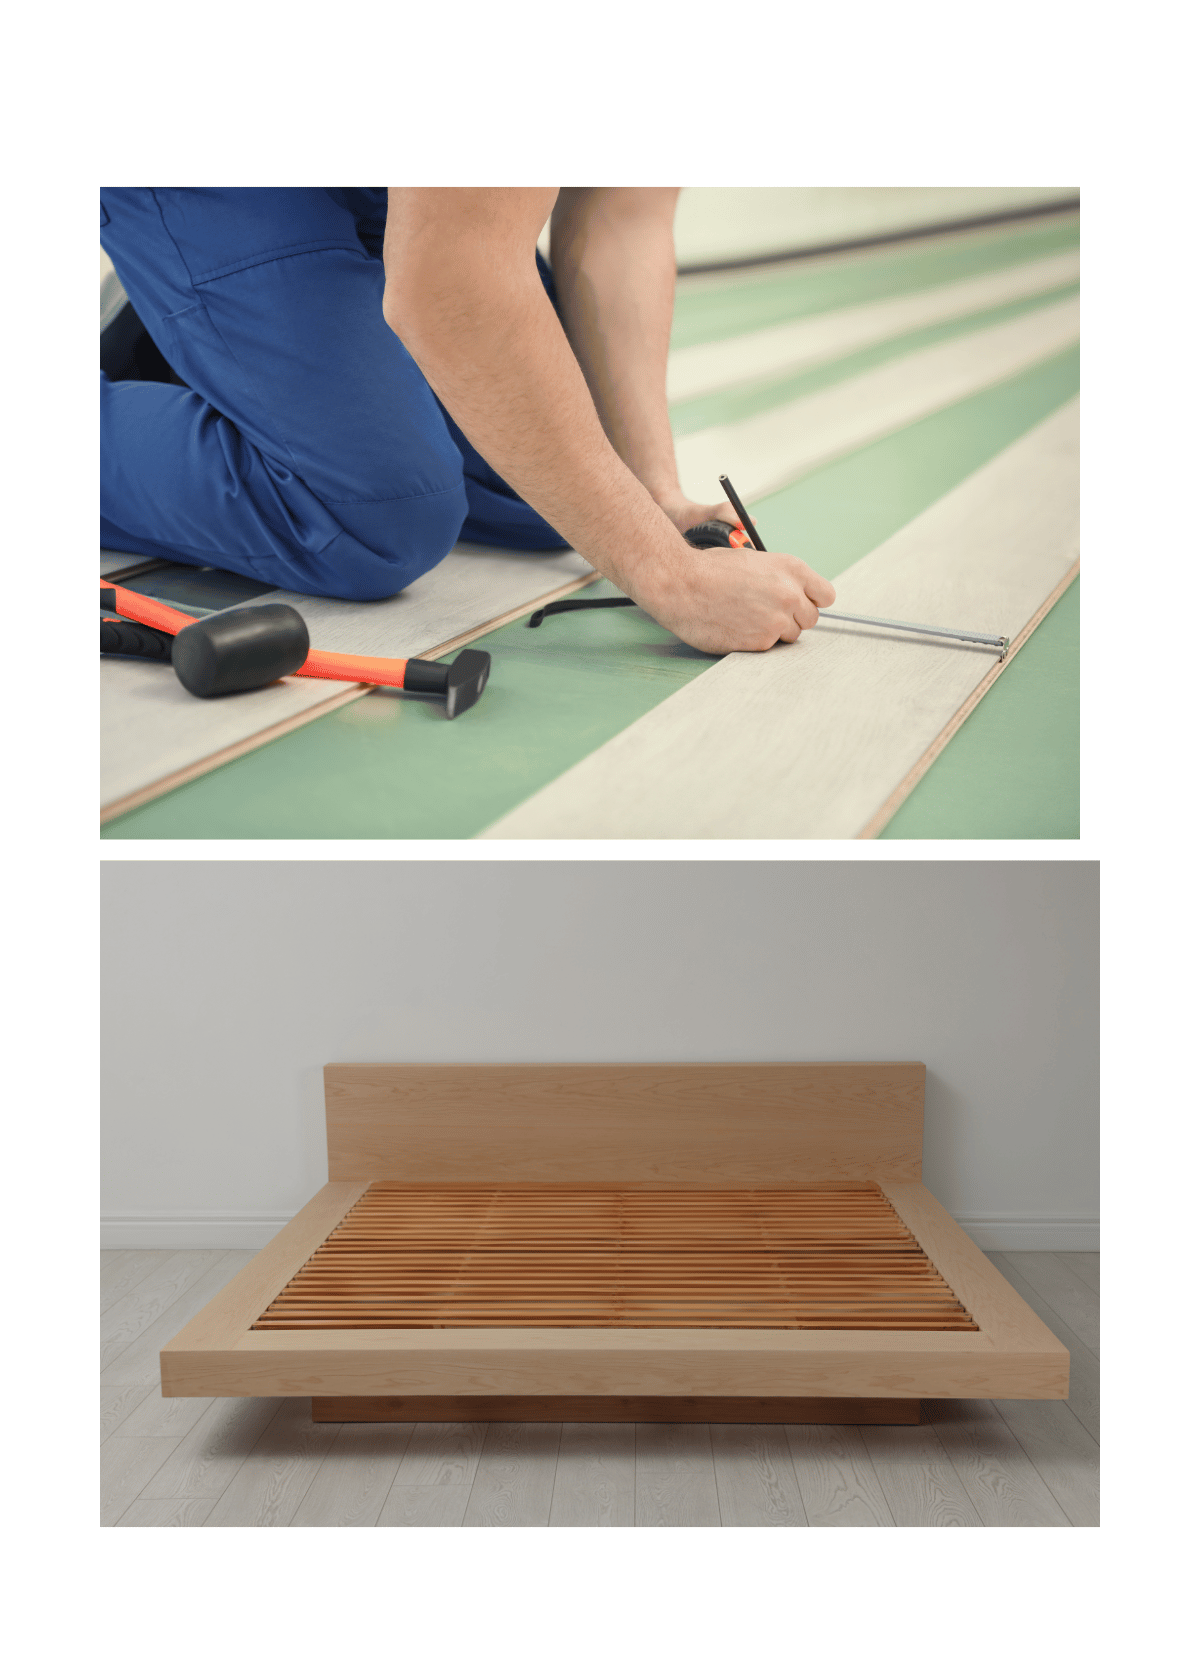
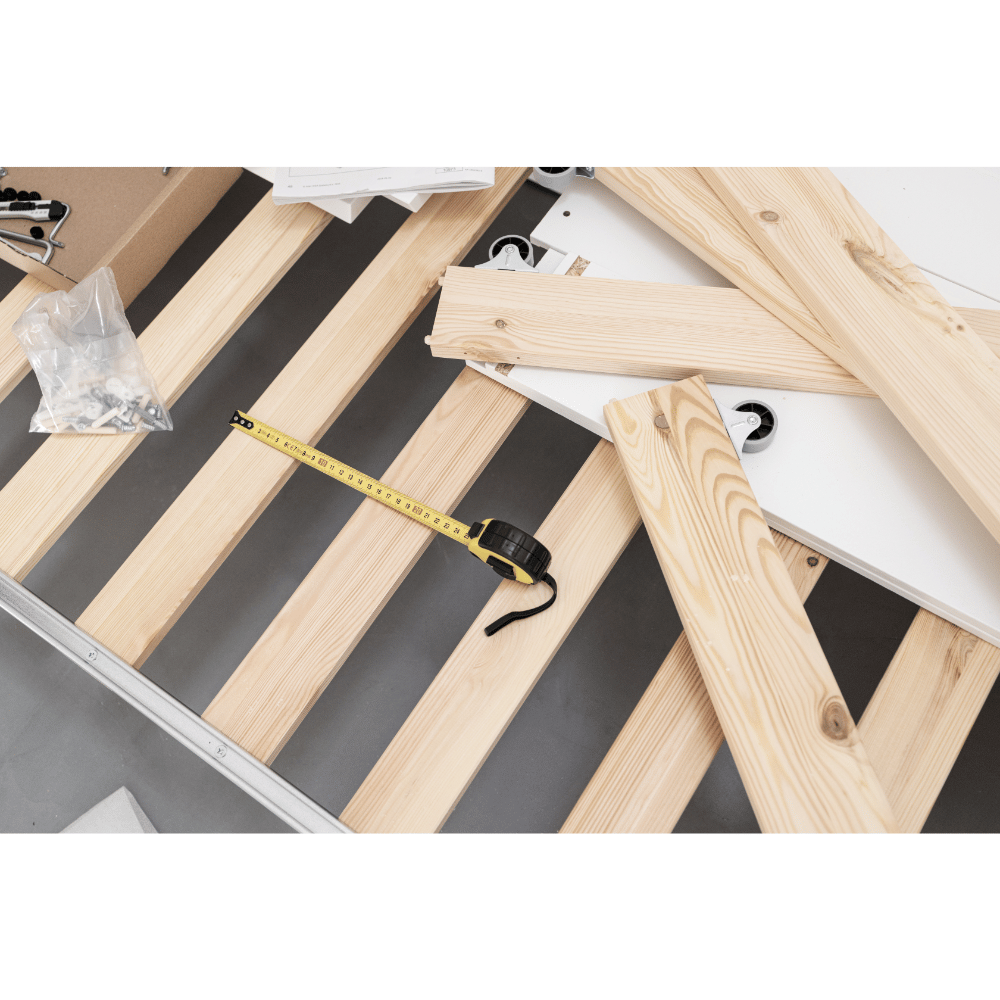
Essential Tools and Materials Needed for Your Bed Project

Please gather all the necessary tools and materials before you start to make sure you complete your bed frame project smoothly.
- Lumber (e.g., 2x6, 2x10, 2x4) – Ensure you have all the lumber required for your chosen design.
- Power tools (e.g., miter saw, drill, Kreg Jig) – Essential for making accurate cuts and assembling your bed frame.
- Wood screws and other fasteners – These are crucial for securing the pieces of your frame together.
- Wood glue and finish nails – Use these to strengthen your joints.
- Sandpaper and wood stain (optional) will help you achieve a smooth, finished look.
Simple and Affordable DIY Bed Ideas

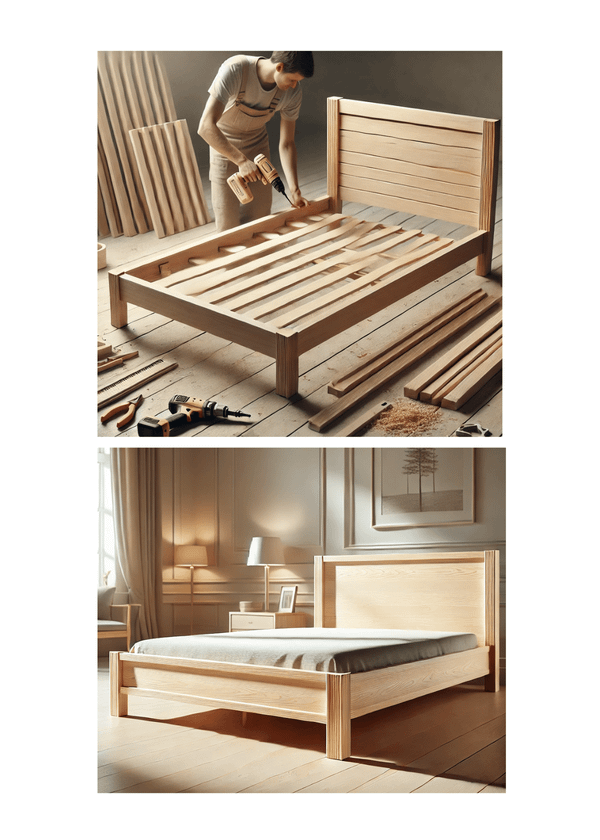
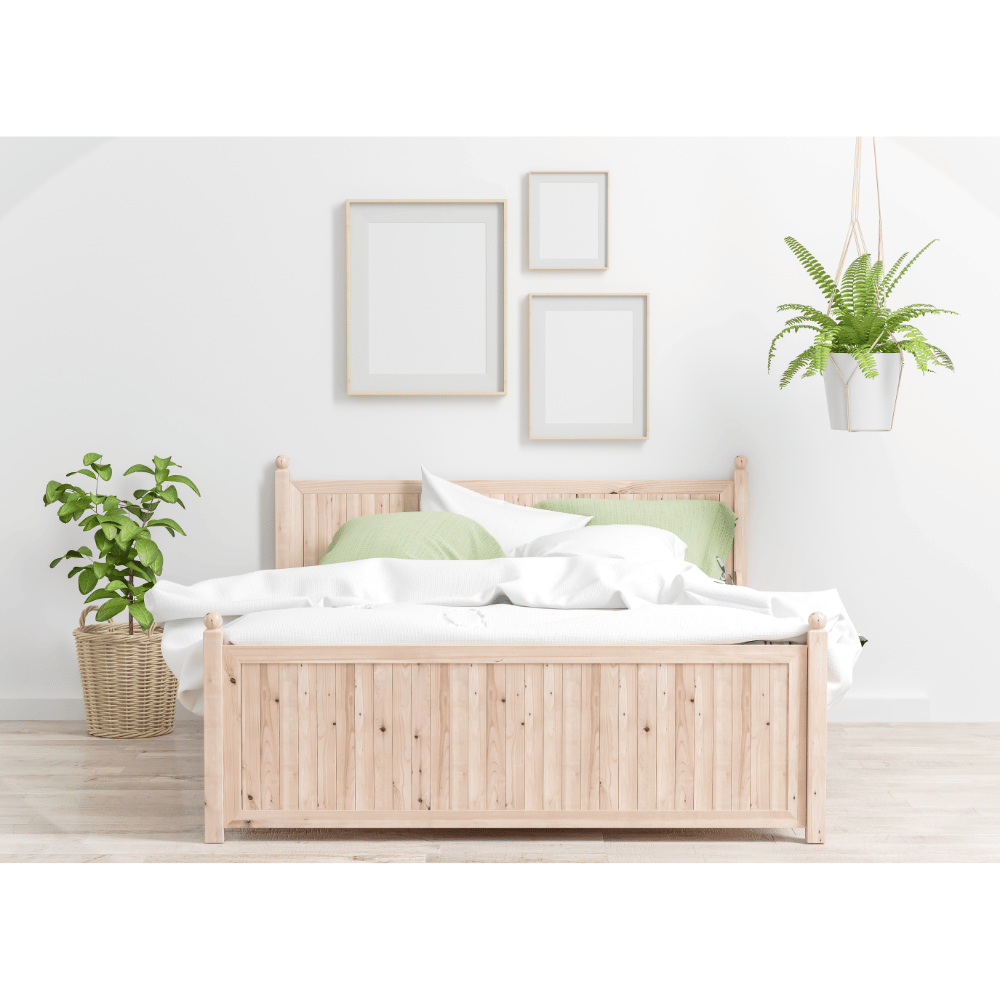
Plan 1: Rustic Wooden Platform Bed
Description
A rustic wooden platform bed is the perfect combination of simple and stylish, making it a great option for any bedroom style. The farmhouse vibe is perfect for those who love natural materials and a warm, earthy feel. This design can go from rustic to modern, so it’s a versatile piece that will elevate any bedroom. The simple design is functional and allows customization, such as headboards or storage, to suit your taste.
Materials and Tools for the DIY wood bed frame
Each item in the materials list is important for the bed to be sturdy, durable, and look good:
- Wood: Pine or oak are good options because they are affordable and available. Reclaimed wood adds a unique and sustainable touch. It will provide a solid base to support heavy mattresses and sleepers.
- Fasteners: Rust-resistant screws and nails are important for the frame to last over time, especially in humid environments. Wood glue will strengthen the joints, make the connection seamless, and make wear and tear-resistant.
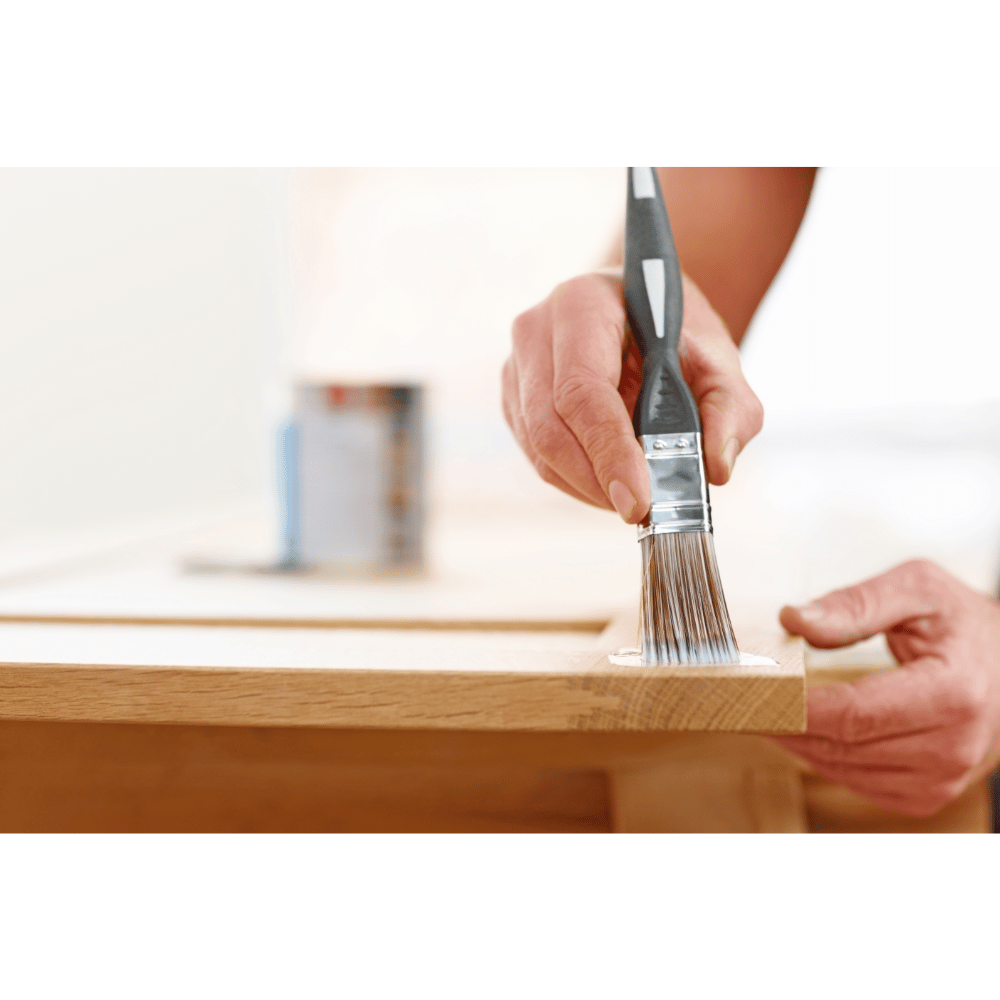
- Finishing Supplies: Sandpaper is needed to smooth out rough edges so the bed frame is safe and looks good. Wood stain or paint is used to customize the frame to match your bedroom decor. Use a brush or cloth to apply the stain for an even finish.
- Tools: The listed tools—a power drill, saw, measuring tape, level, and clamps—are essential for precise cutting, assembly, and frame securing. Clamps are especially helpful for holding pieces in place and for accuracy during assembly.
Step by Step
Each step is designed to make assembly easy while ensuring the bed is sturdy and looks good.
Measure and Cut the Wood:
Accurate measurements are the foundation of a well-built frame. To ensure a snug fit and allow the mattress to breathe, add 2-3 inches around the mattress.
Clamping while cutting helps with precision and reduces the chance of mistakes that will cause problems during assembly.
Label each piece so the process is organized and saves time during assembly.
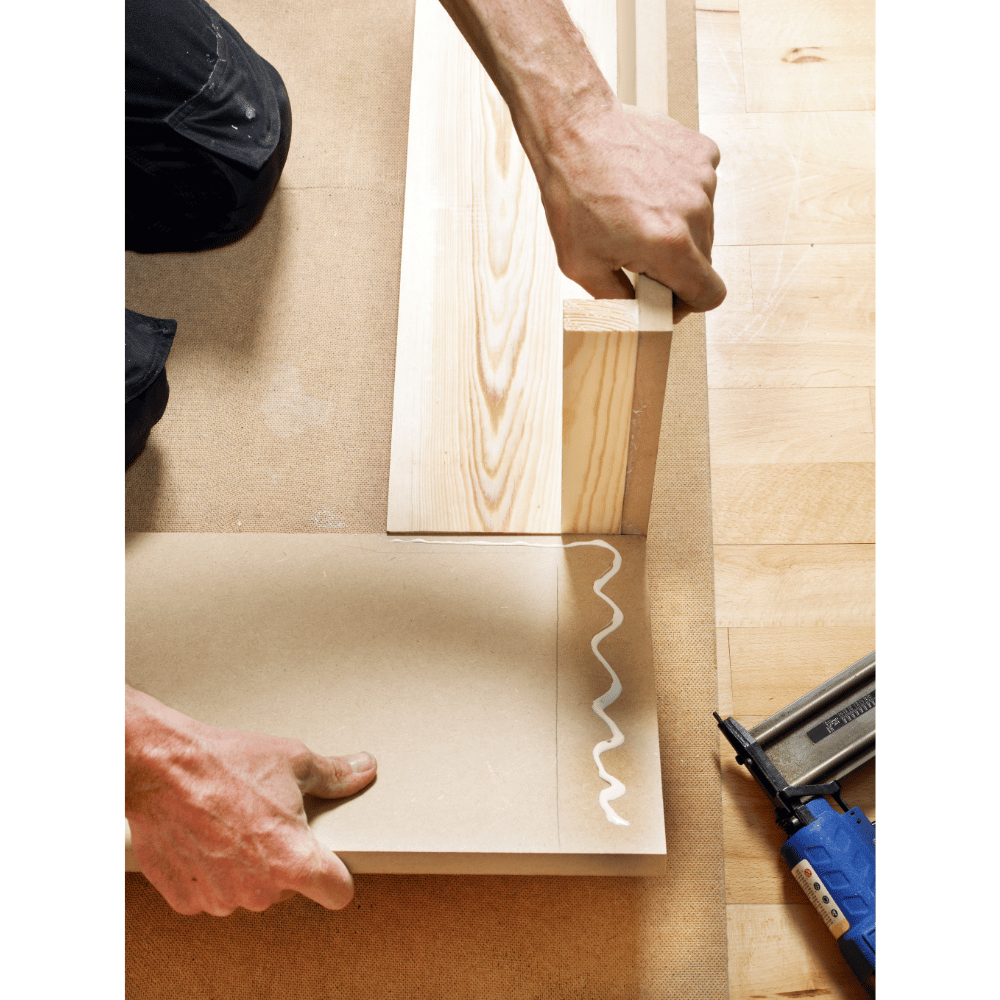
Assemble the Outer Frame:
A rectangular frame is the base of the bed. Screws and wood glue will make a strong bond and prevent movement over time.
Check the frame is square by measuring the diagonals so the structure is perfect for stability.
Add the Bed Slats:
Slats are the backbone of mattress support. Space them evenly and no more than 3 inches apart to prevent sagging and extend the life of the mattress.
Pre-drill holes in the slats to minimize the chance of splitting, and the bed will last for years.
Attach the Legs (Optional):
Raising the bed frame with legs adds a touch of elegance and under-bed storage. Corner braces are important for larger sizes, such as queens or kings.
Use a level to ensure the frame is balanced and won’t wobble.
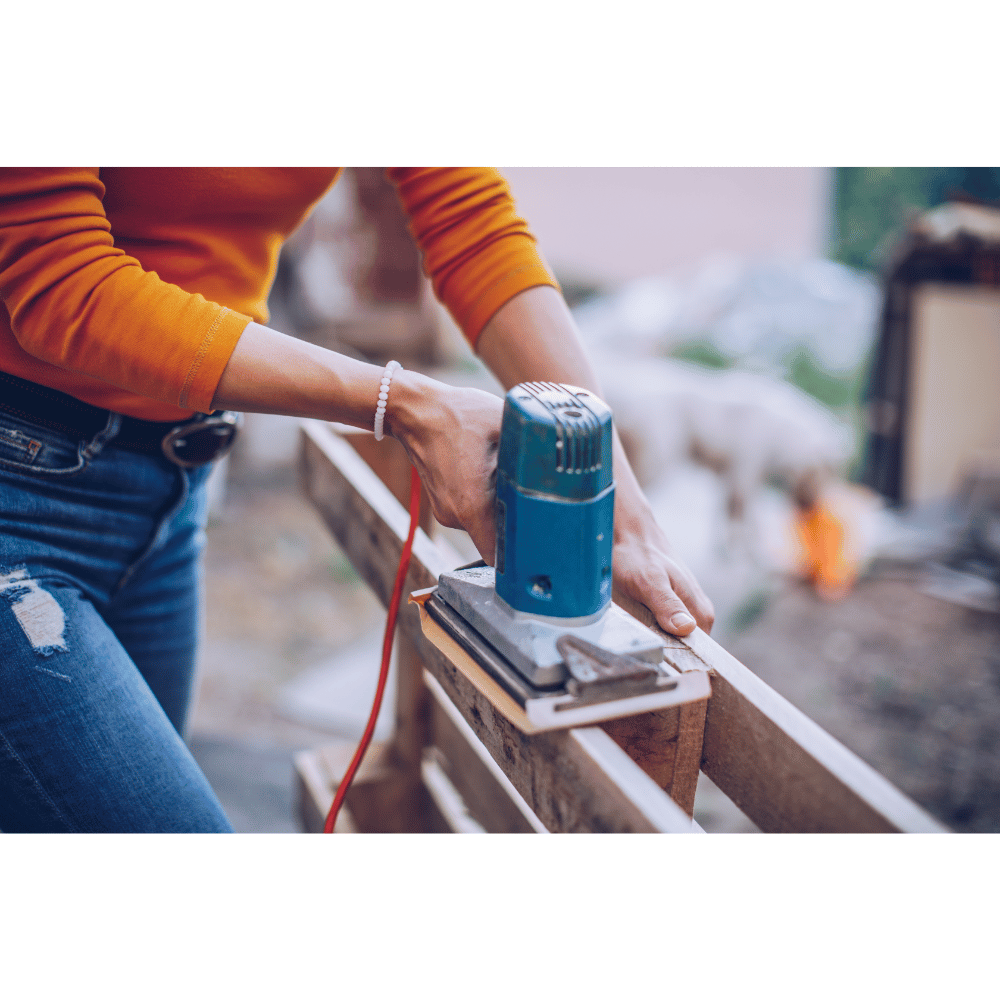
Sand and Finish:
Sand all surfaces to remove splinters and get a smooth finish so the frame is safe and looks good.
Stain or paint to enhance the wood’s natural beauty and protect it from moisture and wear. Let it dry for a long time so the finish sets properly.
Customizations
Customizations let you make the bed frame your own:
Headboard: Customizations let you make the bed frame unique to your bedroom. Adding a headboard will enhance the design and create a focal point. Reclaimed wood or a barn door will add rustic charm; fairy lights will make it more personal and cozy.
Storage: Add storage like drawers or crates underneath the frame to maximize functionality in smaller bedrooms. These compartments will hold bedding or clothing and keep the room tidy. Line the storage with fabric or felt to make it look more finished.
Decorative Accents: Decorative accents make the frame yours. Carved details or stencils add intricate designs that are yours. Contrasting paint on the edges or corners adds depth and visual interest, making the frame a showpiece.
Eco-Friendly Options: Eco-friendly options make your project more sustainable. Sustainably sourced wood supports responsible forestry and adds character to the frame. Non-toxic, water-based paints or stains provide an environmentally friendly finish, making your bed frame beautiful and earth-friendly.
Care Tips
Regular maintenance will extend the life of the bed frame:
- Tighten screws occasionally to prevent loosening that can affect stability.
- Re-stain or re-paint every few years to keep it looking fresh.
- Wipe with a damp cloth to clean without damaging the wood.
Pro Tip
Corner braces will strengthen the frame and support heavier mattresses or people. Treated wood is a good choice in humid climates to prevent warping or swelling over time.
Why This?
- Aesthetic Appeal: Wood is beautiful, so that this bed frame will be a showstopper in any bedroom.
- Versatility: Simple design fits rustic, farmhouse, and modern decor.
- Ease of Customization: Add storage or a headboard; this design is highly customizable.
- Affordability: Building this will save you money and give you a high-quality, durable piece.
This is a classic with functionality, so it’s a great project for any DIYer.
Essential Tools and Materials for a Modern Bed Frame:
- Lumber: Purchase the required boards for the frame.
- Power Tools: A drill, miter saw, and Kreg Jig are essential.
- Fasteners: Wood screws, wood glue, and finish nails.
- Finish: Sandpaper and wood stain for a polished look.
- Measuring Tools: Tape measure and square for accurate cuts.
Assembling Your Modern Bed Frame
Start by cutting the lumber to the correct dimensions and ensuring each piece is flat and smooth. Follow the design plans to assemble the frame, securely attaching the headboard and footboard.
Use pocket holes for a strong, seamless connection. Smooth all surfaces and apply a coat of wood stain for a sleek finish. This modern bed frame's simplicity complements any bedroom décor, making it a versatile and stylish addition to your home.
Plan 2: Minimalist Metal Bed Frame
Materials and Tools:
Overview
A minimalist metal bed frame is perfect for those who like a clean, modern look with a hint of industrial. It’s sturdy, light, and easy to build, perfect for modern bedrooms. Plus, it’s simple to customize it to any decor style.
Materials and Tools
- Metal Pipes or Steel Frames: These are the main structures of the bed frame. Choose galvanized or powder-coated metal to prevent rust and keep it clean.
- Pipe Connectors and Screws: Pipe connectors will secure the metal pipes together. High-quality screws are important to fasten the parts together tightly so the joints won’t wobble.
- Metal Primer and Paint: The primer prevents rust, and the paint gives a smooth finish. Matte black or metallic silver will give the piece a modern industrial look.
- Wrench and Drill: These are the essential tools for tightening the pipe connectors and assembling the frame. A drill can also be used to attach extra supports or decorative elements.

Step by Step Instructions
Breaking it down into steps will make it easy for beginners to build a metal bed frame:
Assemble the Base:
Purpose: The base is the foundation of the bed frame and must be level and stable.
Process: Connect the metal pipes using pipe connectors to form a rectangular base that matches your mattress size. Tighten each joint with a wrench to prevent shifting.
- Tips: Lay the parts on the floor before assembling them to check the structure and ensure everything is aligned.
Create the Legs:
Purpose: The legs will give the frame height and stability.
Process: Attach shorter pipes to each base corner using connectors. Check the length of each leg to ensure it is the same height.
- Tips: Use adjustable feet or rubber caps on the legs to protect your floors and give extra grip.
Reinforce the Frame:
Purpose: Crossbars or extra supports will distribute the weight evenly so it won’t sag.
Process: Attach metal crossbars diagonally or horizontally across the frame—screw and connector them.
- Tips: For extra support, focus on the areas that bear the most weight, such as the center of the frame.
Paint for Finish:
Purpose: Painting the frame will protect it from rust and make it look good.
Process: Apply metal primer first, then your chosen paint. Let each coat dry before applying the next.
- Tips: Use spray paint for a smooth finish. Choose a color that matches your bedroom decor.
Customizations
Customizing the frame will add functionality and a personal touch:
Customizing the bed frame will add functionality and a personal touch, making it more practical and look good. The black or matte finish will give a sophisticated industrial look that will go well with minimalist spaces. These finishes will give a sleek and modern look, making the frame a statement piece in any room.
Adding wheels will make the bed frame more portable. You can move it easily. This is very useful in multi-functional spaces like studio apartments, where furniture needs to be moved to accommodate different layouts or activities.
Adding headboards or footboards elevates the design and comfort. Decorative panels can be attached to add style and support, making the headboard or footboard look more polished and cohesive with the room decor.
Pro Tip
Heavy-duty metal pipes will strengthen the frame enough for larger mattress sizes like queen or king. And investing in high-quality connectors and screws will prevent loosening over time for long-term durability.
Why Choose This?
- Sleek and Modern: The metal bed frame has clean lines that will fit with modern decor.
- Durability: Metal will not warp or wear out like wood, so your frame will last years.
- Customizability: Metal pipes are modular so you can adjust and upgrade easily.
- Affordable and Lightweight: This design is budget-friendly and easy to move and assemble.
This metal bed frame is a perfect balance of form and function for beginners and experienced builders.
Plan 3: Upholstered Bed Frame
Description
The upholstered bed frame is comfortable and elegant in one, perfect for any bedroom. Soft fabric and plush padding will create a cozy and warm atmosphere, and the customizability will allow you to fit the frame to your style. This DIY is for beginners, so it will be your space's functional and stylish centerpiece.
Materials and Tools Needed
Each material and tool is important to achieve a professional and durable finish for your upholstered bed frame:
- Plywood or MDF Boards: These will be the base of the bed frame. Plywood is sturdy and lightweight, and MDF is a smooth surface for upholstering. Choose the thickness that can support the weight of the mattress and occupants.
- Foam Padding and Fabric of Your Choice: Foam padding will add softness and comfort, and the frame will feel luxurious—high-density foam for longevity. Fabric is for customization—velvet will give a plush and luxurious look, and linen will give a sleek and modern look.
- Staple Gun and Staples: These tools attach the fabric to the frame. A heavy-duty staple gun will keep the fabric tight and in place.
- Scissors and Measuring Tape: Precise measurements and clean-cutting are important for a professional finish. Good scissors will prevent fraying or uneven fabric edges.
Step by Step Instructions
Breaking it down into smaller steps will make the building process smoother:
Build the Frame:
Purpose: The frame is the structure for the mattress and upholstery.
Process: Make a rectangular base using plywood or MDF boards. Ensure the frame matches the mattress dimensions, leaving some space for fabric and padding.
- Tips: Reinforce the joints with screws or wood glue for stability and durability.
Add Foam Padding:
Purpose: Foam padding will add comfort and create a soft surface.
Process: Cut the foam to the frame dimensions and attach it with adhesive or staples.
- Tips: Use thicker foam for the headboard area for more comfort when leaning against it.
Wrap in Fabric:
Purpose: Fabric will add texture and style to the frame.
Process: Lay the fabric over the padded frame, making sure it goes beyond the edges. Pull the fabric tight and attach it to the frame with a staple gun.
- Tips: Work from the center outwards to avoid wrinkles. Fold the fabric before stapling to get a clean look in the corners.
Attach Legs:
Purpose: Legs will raise the frame and add style.
Process: Screw on pre-selected legs to the bottom of the frame. Choose the legs that fit your room layout and mattress thickness.
- Tips: Go for metal or wood legs to match the fabric and overall design.
Customizations
Customizing the bed frame will allow you to match it to your bedroom decor:
Customizing the bed frame will allow you to match it to your bedroom decor with a personal touch. Choosing velvet or linen fabric will greatly affect the overall look. Velvet will give a plush and luxurious look perfect for a grandiose atmosphere, linen will give a sleek and modern look for modern or minimalist space.
Tufting with buttons will elevate the bed frame's style and add elegance. It will also add texture and dimension to the design, making it visually striking. To do this, attach buttons to pre-drilled holes in the frame and secure them through the foam and fabric. The result is a clean, professional finish that elevates the bed frame's style.
Pro Tip
Use neutral beige, gray, or white fabric for your bed frame. This will ensure that it matches any decor style. A neutral tone will also give you flexibility when updating your room design, making coordinating with bedding and accessories easy.
Why This Design?
- Aesthetic: Upholstered frames look comfortable and elegant, a focal point in any bedroom.
- Customization: There is a wide range of fabric and padding options to fit your taste.
- Comfort and Functionality: Soft padding is perfect for lounging or reading in bed.
- Budget Friendly: DIY upholstery is a high-end look at a fraction of the store-bought cost.
An upholstered bed frame is a simple yet effective way to upgrade your bedroom. It offers comfort, style, and customization, a win-win for any DIYer.
Plan 4: Storage Bed Frame with Drawers
Description
A storage bed frame with drawers is a practical and stylish way to utilize space in your bedroom. This design combines function with style, storage for clothing, linens, or personal items, and no need for extra furniture. Clean lines and customizations will fit any decor.
Materials and Tools
Each material and tool has a purpose in creating a sturdy, functional, and visually appealing storage bed frame:
Wooden Boards and Plywood are used for the frame and drawers. Plywood is perfect for the base, and wooden boards are used for the overall frame.
- Drawer Slides and Handles: Drawer slides to smooth operation and prevent drawers from sticking. Handles for convenience and can be matched to the bedroom decor.
- Screws, Nails, and Wood Glue: These are the fasteners to secure the frame and drawers—wood glue for extra stability on the joints.
- Drill, Saw, and Measuring Tape are the tools for precise cutting, drilling, and assembling the parts. Accurate measurement is key to ensuring the drawers fit perfectly into their slots.
Step by Step Instructions
Breaking it down into steps will make the process smooth and efficient:
Build the Frame:
Purpose: The frame is the base of the bed and the storage compartments.
Process: Use wooden boards to build a rectangular frame that matches your mattress size. Add hollow slots for the drawers.
- Tips: Screw and glue the corners for extra stability. Use a measuring tape to ensure the slots are the same size.
Install Drawers:
Purpose: Drawers are the storage part of the bed frame.
Process: Attach drawer slides to the slots and corresponding sides of the drawers. Put the drawers in the slides and test for smooth operation.
- Tips: Ensure the slides are aligned perfectly to avoid uneven or sticking drawers. Test each drawer before final installation.
Finish the Frame:
Purpose: Finishing adds durability and style to the bed frame.
Process: Sand all surfaces to remove splinters and imperfections. Paint or stain for a smooth finish that matches your bedroom decor.
- Tips: Use a paintbrush for even coverage or a cloth for staining. Let it dry before assembling the frame in your room.
Customizations
Customizing the storage bed frame allows you to make it fit your needs and style:
Customizing the storage bed frame will make it practical and visually appealing. To maximize storage, add multiple drawers. Add more compartments to organize more items, from everyday bedding to seasonal clothing, keeping your bedroom tidy and functional.
Handles will add style to the drawers. Choose handles with unique shapes, finishes, or materials to enhance the bed frame's elegance and personality.
Soft-close slides will make the drawers more user-friendly by being smoother and quieter. This is functional and adds luxury to the bed frame, so every detail is comfortable and convenient.
Label the drawers for organization, especially if they will store different items. This is especially helpful in shared spaces or the kids’ bedroom, where quick access to specific items is needed.
Why This Design?
Space Saver: This product is a bed frame with built-in storage to free up floor space for other furniture or activities.
Organized: Keeps your bedroom tidy by having designated storage for items that will otherwise clutter the room.
Aesthetic Flexibility: Customizable finishes and handles to match your decor style.
Durability: Durable materials and well-installed drawers will make the frame functional for years.
Building a storage bed frame with drawers is a practical and fun DIY project. It saves space, reduces clutter, and organizes your bedroom with a stylish, durable centerpiece.
Plan 5: Loft Bed Frame
Overview
A loft bed frame is the ultimate space saver for small bedrooms, studios, or shared spaces. Its raised design provides space underneath the bed for storage, a desk, or a cozy reading nook. This functional and stylish DIY project will maximize your room’s potential.
Materials and Tools
Each material and tool is chosen to make the loft bed frame strong, safe, and stylish:
- The loft bed's structure consists of wooden beams and Planks. The beams support the raised frame, and the planks are the platform for the mattress. Choose high-quality, durable wood like pine or oak for safety and longevity.
- Screws, Nails, and Brackets: These will hold the frame together. bed rail brackets, especially heavy-duty ones, will add extra stability to the raised structure.
- Sandpaper and Paint: Sandpaper smooths the rough edges, keeping the frame safe and splinter-free. Paint or stain finishes the frame, making it look good and protecting the wood from wear and tear.
- Drill, Saw, and Level: A drill and saw is needed to cut and assemble the parts, while a level ensures the frame is built evenly and will not wobble.

Step-by-Step Instructions
Follow these steps to build a strong, safe, and stylish loft bed frame:
Build the Posts:
Purpose: The posts will raise the bed frame and create space underneath.
Process: Cut four wooden beams to the desired height. Attach each post to the corners of the bed frame using screws and brackets.
- Tips: Measure carefully to ensure the posts are the same height. Use heavy-duty brackets for secure attachment, especially for taller frames.
Assemble the Platform:
Purpose: The DIY platform bed frame will support the mattress and distribute the weight evenly across the frame.
Process: Lay wooden planks horizontally across the top of the posts. Attach them securely with screws, and make sure to have even spacing between planks to support the mattress properly.
- Tips: Pre-drill holes in the planks to prevent splitting. Use a level to check if the DIY platform bed frame is even before securing it.
Add Safety Rails:
The purpose of rails is to prevent falls and add an extra layer of safety, especially for kids or higher loft beds.
Process: Attach wooden rails around the edges of the platform. Secure them with screws or brackets.
- Tips: Make the rails at least 5 inches above the mattress surface.
- Paint or Stain:
Purpose: A finish will protect the wood.
Process: Sand the whole frame to remove splinters, then paint or stain evenly. Let the finish dry completely before using the bed.
- Tips: Choose a color or stain that matches your room decor. For a durable finish, use a water-resistant sealant.
Customizations
Customizing your loft bed frame will add functionality and a personal touch:
Customizing your loft bed frame will enhance its functionality while you can add a personal touch to the design. Adding a ladder will make it safe and convenient to access the raised bed. Whether wood or metal, the ladder can be designed to match the bed frame style, making it a smooth and practical addition.
Adding a desk or storage will transform the area underneath the loft bed into a super functional zone. This is perfect for students or small apartments where every inch counts. Shelves, storage bins, or a desk can create an organized workspace or a neat storage solution.
Decorative items like string lights, curtains, or fabric panels will personalize the loft bed and make it cozy and warm. These will add character to the design and make the bed a functional piece and a focal point in the room.
Pro Tip
Attach the frame to the wall with heavy-duty brackets for extra stability. This is especially important for taller loft beds or if kids or teenagers use the frame. Wall attachment will prevent wobbling and make the bed safe and secure.
Why This Design?
- Space Savvy: By raising the bed, you free up floor space for storage, work, or play.
- Customizable: Open design allows adding desks, shelves, or decorative items.
- Safety: Stable and safe with sturdy posts, safety rails, and wall attachment options.
- Aesthetic: With the right finish and customization, the loft bed frame will be a focal point in any room.
Building a loft bed frame is a practical and fun way to utilize your space. Combining comfort, storage, and design in one project is versatile and functional.
Plan 6: Floating Bed Frame
Description
A floating bed frame will give your bedroom a sleek, modern look, making it seem like the bed is floating off the floor. This DIY platform bed frame will not only enhance the beauty of your bedroom but also add a touch of innovation. Adding LED lights under the base will make it even more floating and a focal point in your space. Although it looks stylish, this is a simple DIY project that combines creativity and functionality.
Materials and Tools
The materials and tools for this project will give you a secure and stylish structure:
- Wooden Planks and Plywood will be used for the base and platform. Plywood will provide a smooth surface for the mattress, and wooden planks will strengthen the overall frame.
- Screws and Wood Glue: Screws attach the parts and wood glue to prevent movement over time.
- LED Strip Lights (Optional): To make the floating effect more pronounced with a soft ambient light under the frame.
- Drill, Saw, and Measuring Tape: These will help you be precise when cutting, assembling, and attaching the wooden parts. Accurate measurements are key to the levitating effect.
Step by Step
Each step of building the floating bed frame is a balance of simplicity and functionality:
Build the Base:
Purpose: The base will support the whole structure and be smaller than the mattress to create the floating effect.
Process: Assemble a rectangular frame with wooden planks. The base should be centered under the mattress but not visible from above.
- Tips: Use a measuring tape to ensure the base is 6-10 inches smaller than the mattress on all sides. Reinforce the corners with screws and wood glue.
Build the Platform:
Purpose: The platform will hold the mattress and distribute its weight to the base.
Process: Attach a larger wooden platform on top of the base, overhanging equally on all sides. Screw it in place to prevent movement.
- Tips: Use a level to check that the platform is even. For bigger mattresses, add cross supports under the platform.
Add Lighting:
Purpose: LED lights make the floating effect more pronounced, modern, and ethereal.
Process: For maximum glow, attach LED strip lights to the underside of the platform near the edge. Conceal the wiring for a clean look.
- Tips: Get a dimmable LED light and adjust the brightness according to your mood or time.
Finish with Stain:
Purpose: Staining will protect the wood and make it look better.
Process: Sand all surfaces to remove splinters and imperfections. Apply a wood stain or paint that matches your bedroom color. Let the finish dry before using the bed.
- Tips: Apply the stain with a cloth or brush for an even coat: darker stains or neutral colors for a modern look.
Customizations
Customizing your floating bed frame allows you to make it your own and make it look better:
Customizing your floating bed frame lets you adapt it to your personal preferences, functionality, and design. Try different LED light colors to make the floating effect more pronounced. You can choose lights that match your room theme or go for an adjustable, multicolor setup to have a dynamic and customizable mood.
The dark wood frame gives it a modern look. Stains like ebony or walnut give a contemporary feel that works well with minimalist or industrial style. The dark tones will contrast with the LED lights, making the levitating effect more pronounced.
Adding decorative trims or edge details will make the bed frame look more designed more finished. These small details can make a big impact and turn a simple floating bed frame into a statement piece that reflects your personality.
Pro Tip
Ensure the base is strong enough to hold the weight of the mattress and occupants. Use thick, solid wooden planks and add supports or brackets to the base. This will ensure safety and the floating effect.
Why This Design?
- Modern Look: The floating design and LED glow will make this a focal point in any bedroom.
- Space Saver: The open space under the base will make the room feel bigger and can be used as hidden storage.
- Customizable: The design and lighting can be customized.
- DIY Easy: High end look but can be done with basic tools and materials.
The floating bed frame is a stylish and functional upgrade for your bedroom. Its design and ambient lighting make it a fun DIY project for anyone.
Bringing Your DIY Bed Frame to Life

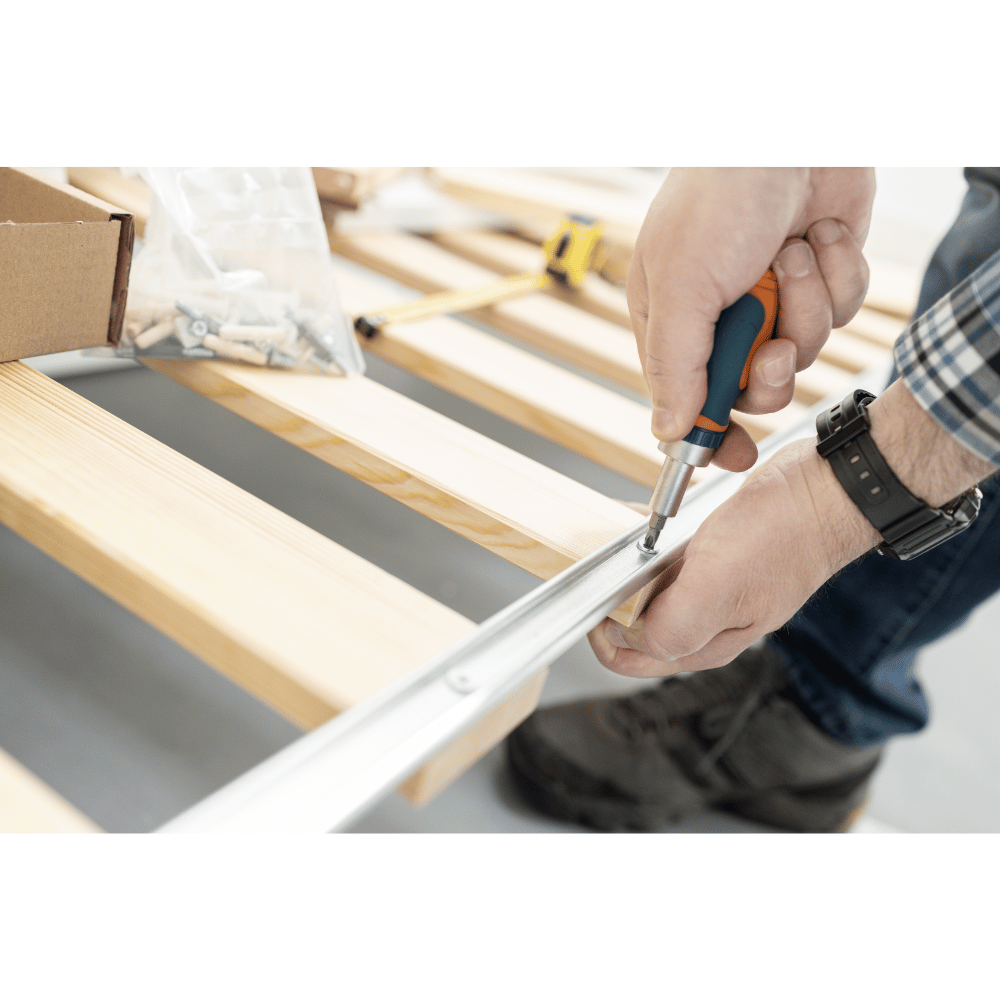
Assembling the Base and Headboard: A Step-by-Step Guide
Follow a step-by-step guide to assemble your bed frame's base and headboard. Detailed instructions will help you complete your great project accurately.
- Use pocket holes and wood screws to secure the pieces together. This method ensures a sturdy and durable frame.
Sand and stain the wood for a finished look. A smooth, polished finish will make your bed frame look professional and stylish.
Adding Supports for the Mattress and Finishing Touches
Add mattress supports to ensure a comfortable sleeping surface. Consider adding a bed skirt or other finishing touches to complete the look.
You can use a Kreg Jig to drill pocket holes and secure the pieces together. I like this part of the project for its focus on detail and comfort. Adding mattress supports is crucial for stability and comfort, ensuring your bed frame is functional and attractive.
Attaching the Bed Frame Components
Begin by assembling the head and foot boards. Lay out the bed slats across the middle and secure them to the posts. Ensure the posts are attached to the floor for stability, and rest assured your bed is sturdy.
Finishing Touches and Final Assembly
Attach the slats to the bed frame, ensuring they lay flat and evenly spaced. Coat the assembled frame with your preferred finish. Follow the final directions to secure all components and enjoy your new DIY bed.
Tips for a Successful Bed Frame Project: Common Mistakes to Avoid
Measure Twice, Cut Once
Always double-check your measurements before cutting.
Accurate measurements are essential to avoid wasting materials.
Misjudgments can lead to a better-fitting bed frame.
Choose the Right Lumber
Different projects require specific types of wood.
Ensure the lumber matches your design and structural needs.
Using unsuitable wood can compromise the frame’s stability.
Select Appropriate Fasteners
Use the correct screws, nails, and other fasteners for your project.
Different materials require different fasteners.
Improper fasteners can weaken the frame over time.
Consult Online Resources
Utilize tutorials and guides available online.
Watch instructional videos for step-by-step assistance.
Online communities can offer advice and solutions to problems.
Don’t Hesitate to Ask for Help
Seek advice from experienced DIYers or professionals.
Collaboration can provide new insights and techniques.
Getting help can make complex tasks more manageable and safer.
Taking Your DIY Bed Frame to the Next Level
Adding a Footboard or Headboard for a Complete Look
Add a footboard or headboard to complete the look of your bed frame. Use a king-size bed frame plan to create a grand and luxurious look. Consider adding creative materials or upcycling old ones for a personalized touch.
This step would give your bed frame a finished and polished appearance. A footboard or headboard can transform a basic bed frame into a stunning centerpiece, making your bedroom feel complete.
Using Creative Materials or Upcycling Old Ones for a Personalized Touch

Get creative by crafting a unique bed frame using materials like reclaimed wood or metal. Upcycle old pallets or other materials for a one-of-a-kind creation.
Add personal touches like a wood headboard or side rails to make it your own. I recommend this approach for a truly personalized and environmentally friendly bed frame. Using upcycled materials adds character to your bed frame and promotes sustainability.
DIY Bed Frame Plans Made Simple: my Bottom Line
Building your own platform bed is a rewarding woodworking project that adds both style and function to your bedroom. W
ith tools like a table saw, circular saw, and cordless drill, you can craft sturdy side rails, center support, and foot pieces that suit any mattress size.
Skipping the box spring helps maintain the right bed height while ensuring a clean, modern look. Once you cut and assemble all the pieces, you’ll have a custom size bed tailored perfectly to your space and comfort needs.
CONCLUSION:
Creating your bed frame can be a rewarding and transformative experience for your bedroom. These easy DIY bed frame plans offer a variety of styles and options to suit any skill level and preference.
Whether you opt for a modern bed frame or a rustic reclaimed wood design, each project promises a unique and personal touch.
You can start your bed frame project today and enjoy the satisfaction of seeing your bed turned into a beautiful and functional centerpiece for your bedroom.
Frequently Asked Questions
Is it cheaper to make your own bed frame?
Yes, building your bed frame can be more cost-effective than purchasing one. By selecting your materials and using DIY plans, you can save money while creating a customized piece that fits your needs and style preferences. Moreover, you can choose higher-quality materials that might be too expensive in a store-bought frame.
Can you build a bed frame by yourself?
Absolutely, you can build all bed frames by yourself. With the right tools, materials, and a detailed plan, many people find DIY bed frame projects manageable and rewarding. It’s a great way to learn new skills and achieve a sense of accomplishment. Nonetheless, having an extra pair of hands can be helpful for larger projects.
How to make a DIY bed?
Choose a plan that suits your style and skill level to make a DIY bed. Collect the necessary tools and materials, follow the step-by-step instructions, and take your time with each part of the project. Patience and precision are key to success. Whether creating a simple modern bed frame or a more complex design, careful planning and execution are crucial.
Can I build a bed frame using wood?
Yes, you can build a bed frame out of wood. Wood is a versatile and sturdy material that allows various designs, from simple and modern to rustic and elaborate. Choose the right type of wood and follow a reliable plan for the best results. Whether using new lumber or reclaimed wood, a wooden bed frame can add character and warmth to your bedroom.